Designing Sheets
You can design and print cover or folder sheets based on metadata fields. Custom sheets are based on the Rich Text Format (RTF). RTF files can be created using WordPad; available on most Microsoft Windows operating systems.
Using the above in-place editor, the user is provided with the ability to add metadata fields anywhere on the page. When adding fields to the template, the font will be matched to the font based on the cursor's location. If more advanced editing needs are required, it is recommended to use WordPad or a similar RTF editor.
Most basic RTF functionality is supported, including font adjustments and embedded graphics. Editing the RTF template outside of ReadySuite allows the user to make these appropriate changes.
When editing the cover sheet template, metadata fields can be manually added. While parsing the template, ReadySuite looks for metadata fields in this format: %%%FIELDNAME%%% where FIELDNAME is the name of the field to be included.
Note: If the metadata field has not been imported into the document collection, the template will print as-is for that metadata field.
To print cover sheets
- In the ReadySuite ribbon, click Process > Print Sheets to open the Print Cover Sheets wizard.
- If available, select the data source.
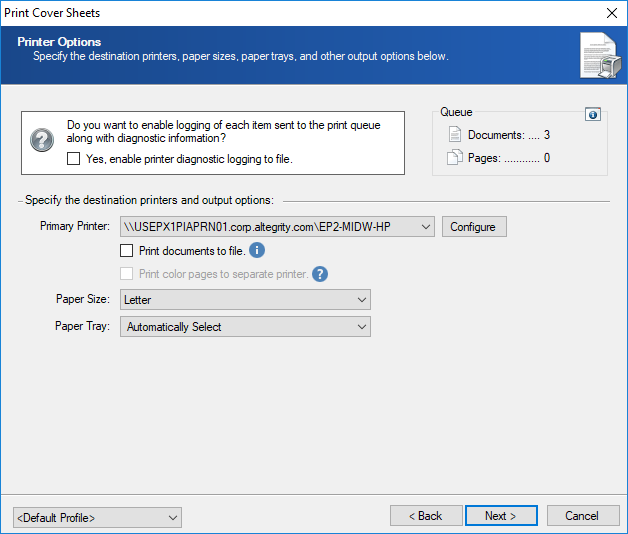
- On the Printer Options page, specify the destination printers and output options.
- Click Next.
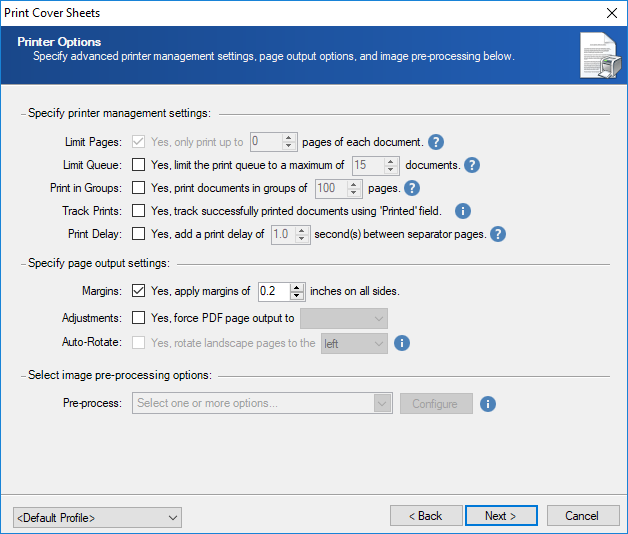
- On the second Printer Options page, specify the advanced printer management settings, page output options, and image pre-processing settings.
- Click Next.
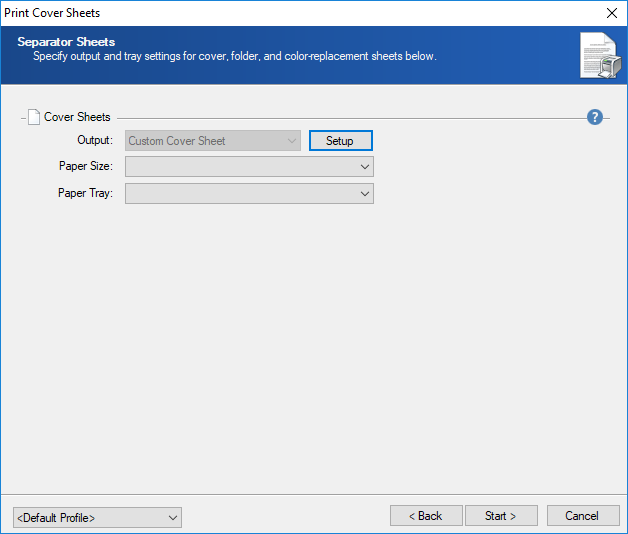
- On the Separator Sheets page, specify the settings for the cover sheets.
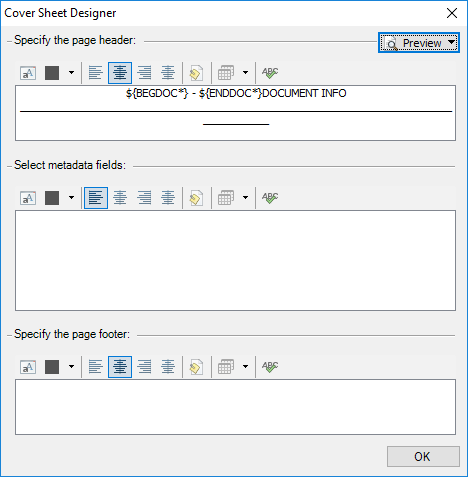
- In the Cover Sheets section, click Setup and on the Cover Sheet Designer dialog box, specify the page header, metadata fields, and page footer.
- Click Preview to compare the template to documents imported into ReadyPrint.
- When finished, click OK.
- Click Start.
- On the Printing Progress page, select the Printing Controls to test, start, pause, or restart the printing process.
- View the details of the printing process.
- Click Finish.
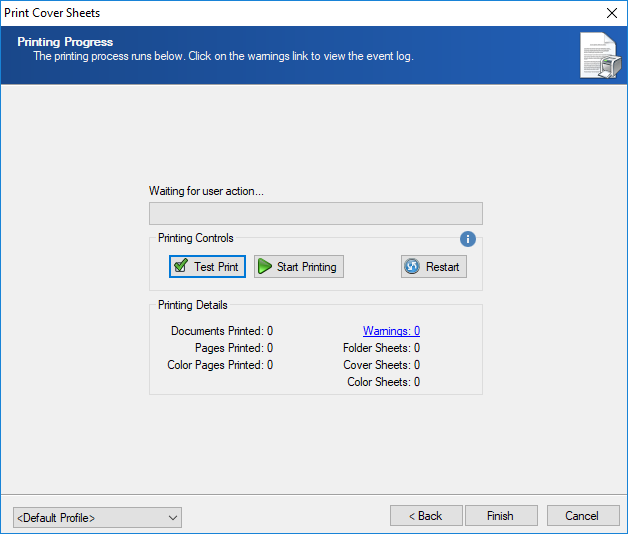
Note: If warnings exist, Warnings displays the number of instances. Click to view the Event Log for details.
Note: Documents are printed in the order displayed in the Document Grid View. If the documents are not sorted properly, folder sheets may not be printed as expected.