Exporting to Relativity
ReadySuite enables you to upload native, text, and image files simultaneously using the Relativity Export wizard.
Note: For details on how to set up the connection between ReadySuite and Relativity, please see the Connecting to Relativity BluePrint.
To export a data set from ReadySuite to Relativity
- Import to ReadySuite the data set you want to export to Relativity.
- In the ReadySuite ribbon, click External Data and click Relativity.
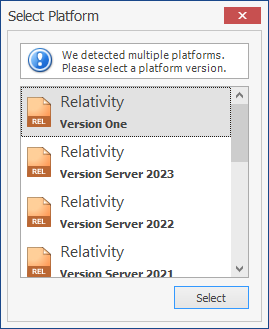
- If the Select Platform dialog appears, select the version of Relativity you want to use.
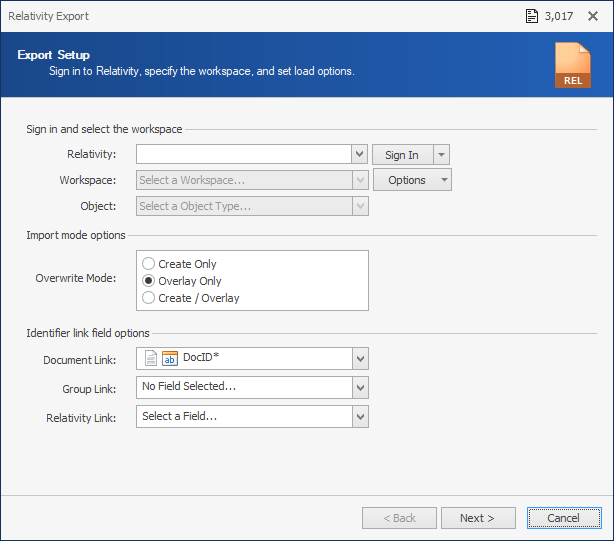
- On the Export Setup page, select the Relativity connection you want to use.
If this is the first time you are connecting to Relativity, click Sign In to open and complete the Manage Credentials dialog box. - Select the Workspace you want to export to.
- Select the type of Object you want to export to. (
Documentis selected in most instances). - Click Options and select the number of parallel loads you want dividing the documents when exporting documents to Relativity. (Recommended for document sets of 100,000 records or more).
- Select the Overwrite Mode:
- Create Only: Allows only new records to be added to the ReadySuite project.
- Overlay Only: Requires records to overlay an existing record in the Relativity project.
- Create/Overlay: Adds new records and those matching an existing record in the Relativity project.
- Select the Document Link from ReadySuite (for example,
DocIDorBegDoc). (If the export creates new records in Relativity, this value is used as theControl Numberthe Relativity Link.) - If you choose, select the Group Link (the Parent ID or Group ID to the Document Link).
- If you selected Overlay Only, select the Relativity Link you want the Document Link to overlay.
- Click Next.
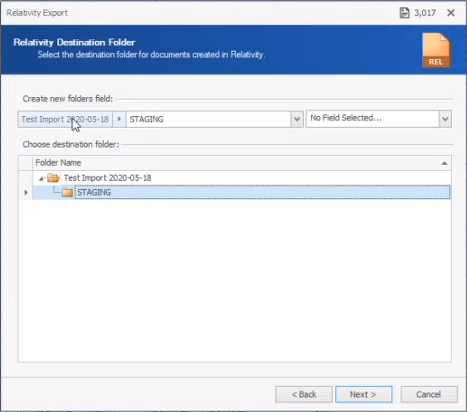
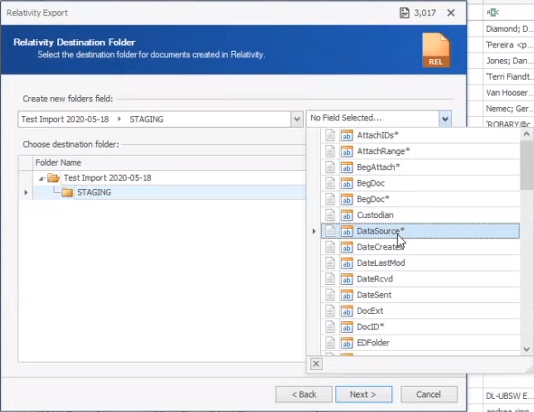
- On the Relativity Destination Folder page, select the destination folder for documents created in Relativity.
- To create a new folder, right click in the Folder Name list and select New Folder (example,
STAGING). - If you choose, use the No Field Selected list, select the metadata values you want you use as subfolders under the selected destination folder. (Press
Deleteto clear the selected metadata value and return to No Field Selected...) - Click Next.
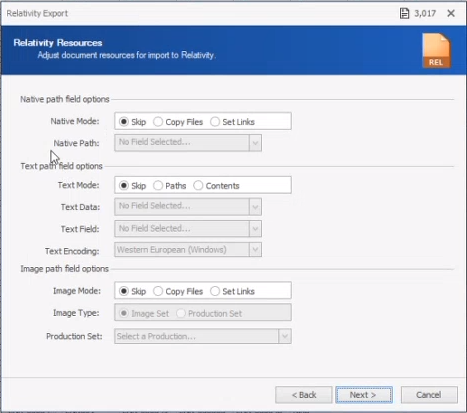
- On the Relativity Resources page, adjust document resources for importing native, text, and image files to Relativity using the following modes:
- If you choose to change the default value of the Native Path, it must be an absolute file path on the local environment.
- If you choose, update the default fallback encoding in the Text Encoding.
- For images, select the Image Type as either the
Image Setor theProduction Set. - Click Next.
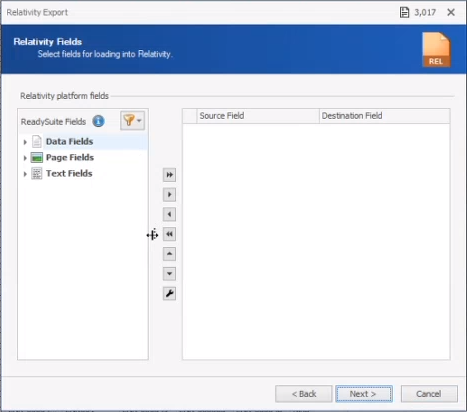
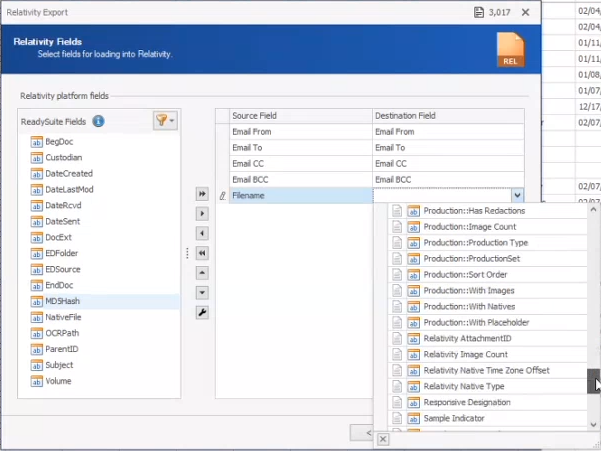
- On the Relativity Fields page, select the fields to export the Relativity.
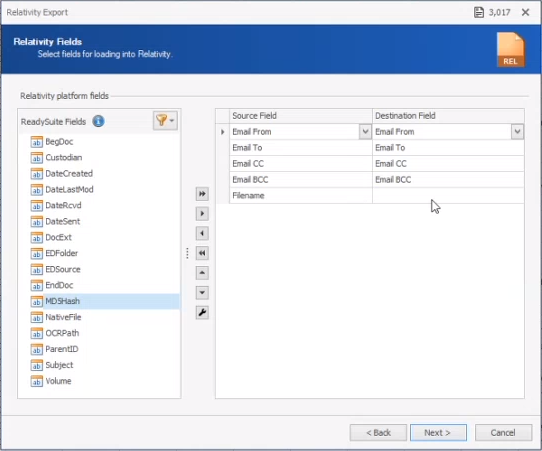
- On the Relativity Fields page, use the arrows to select from the ReadySuite Fields list the fields you want to upload to Relativity. The Source Field is the ReadySuite data. The Destination Field is the field that is populated in ReadySuite. If there is a match between the field names in ReadySuite and Relativity, the contents in the Source Field and Destination field will automatically match.
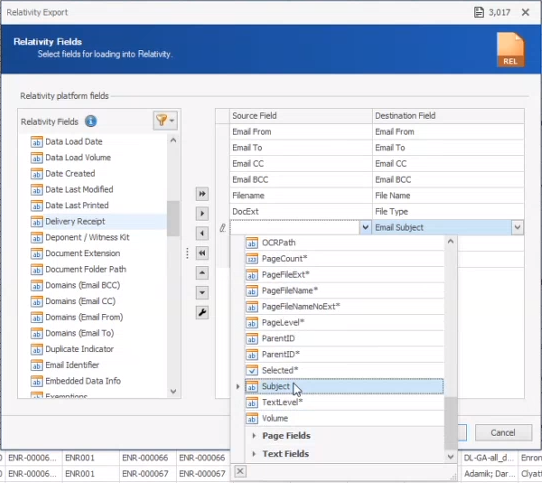
- If a Destination Field does not automatically populate, click the field use the drop list to select the corresponding field in Relativity.
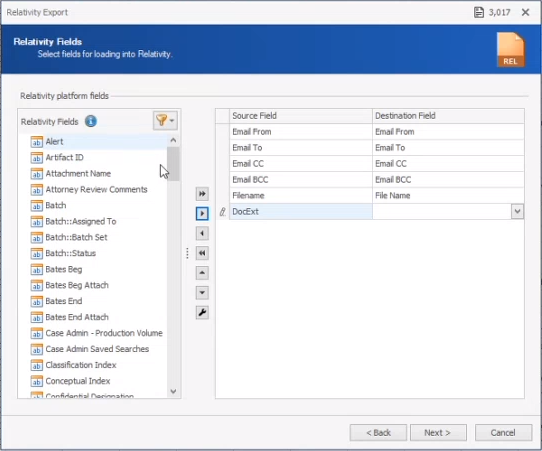
- To view the Relativity Fields, click the Filter icon
 and select Relativity Fields > Platform Fields.
 - To save the selected Source Field and Destination Field lists as a Field List, click the Profiles icon
 and select Save Field List.
 - Click Next.
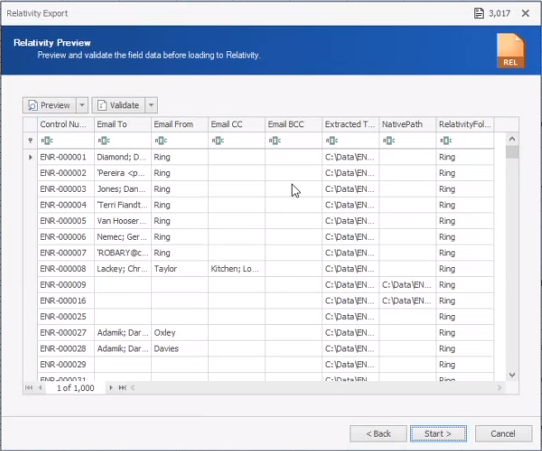
- On the Relativity Preview page, preview and validate the field data before loading to Relativity. The display is limited to 1,000 data files.
To preview all files, click Preview and select Preview All. - Rename the Destination Field Field Name and select the Type as necessary.
- To validate field data prior to export, click Validate and select the type of validation you want to perform:
- Check Field Lengths: Compares length of ReadySuite field to length of Relativity field.
- Check Native Files Exists
- Check Text Files Exist
- Click Start.
- On the Import Progress page, view the details of the import process.
- Click Finish.
Note: ReadySuite continues to use the selected version of Relativity until you close and restart ReadySuite.
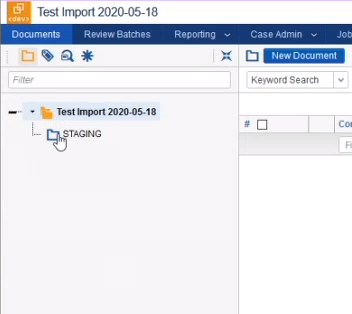
(The new folder appears in Relativity when you refresh the Documents list.)
All
Skip: Do not import this file type.
Native and Image
Copy Files: Import to Relativity's file repository.
Set Links: Upload only reference links to the workspace and set them as the image's source location.
Text
Paths: Import all the contents of the Text Data the from an absolute text path on the local environment to the selected Text Field in Relativity.
Contents: Import all the contents of the Text Data verbatim as a file path the from the local environment to the selected Text Field in Relativity (typically Extracted Text).
(For more information, see Promoting data with Integration Points.)
Note: Type the first letter of a Destination Field to move to entries beginning with that letter.
Note: Click the Filter icon to select from a limited set of fields, such as Custom Fields (all fields from the original load file) into ReadySuite, System Fields (fields marked with an asterisk), and Field Sets.
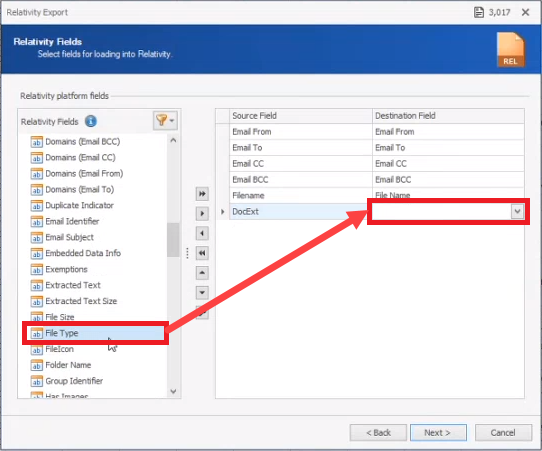
You can drag Relativity platform fields from the Relativity Fields list to an empty Destination Field.
You can also select Relativity Fields and use the right arrow to create Destination Fields, then select the matching Source Field in ReadySuite.
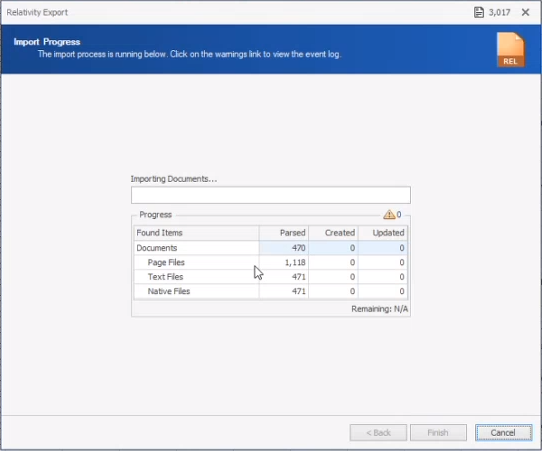
Note: If warnings exist, the Warnings icon ![]() displays the number of instances. Click to view the Event Log for details.
displays the number of instances. Click to view the Event Log for details.